


Eviction Cleanout Mastery: 10 Vital Tips Every Property Manager Must Know
A Guide to Eviction Cleanouts: How to Handle It 10 Steps. Everything You Need To Know.
Get Started
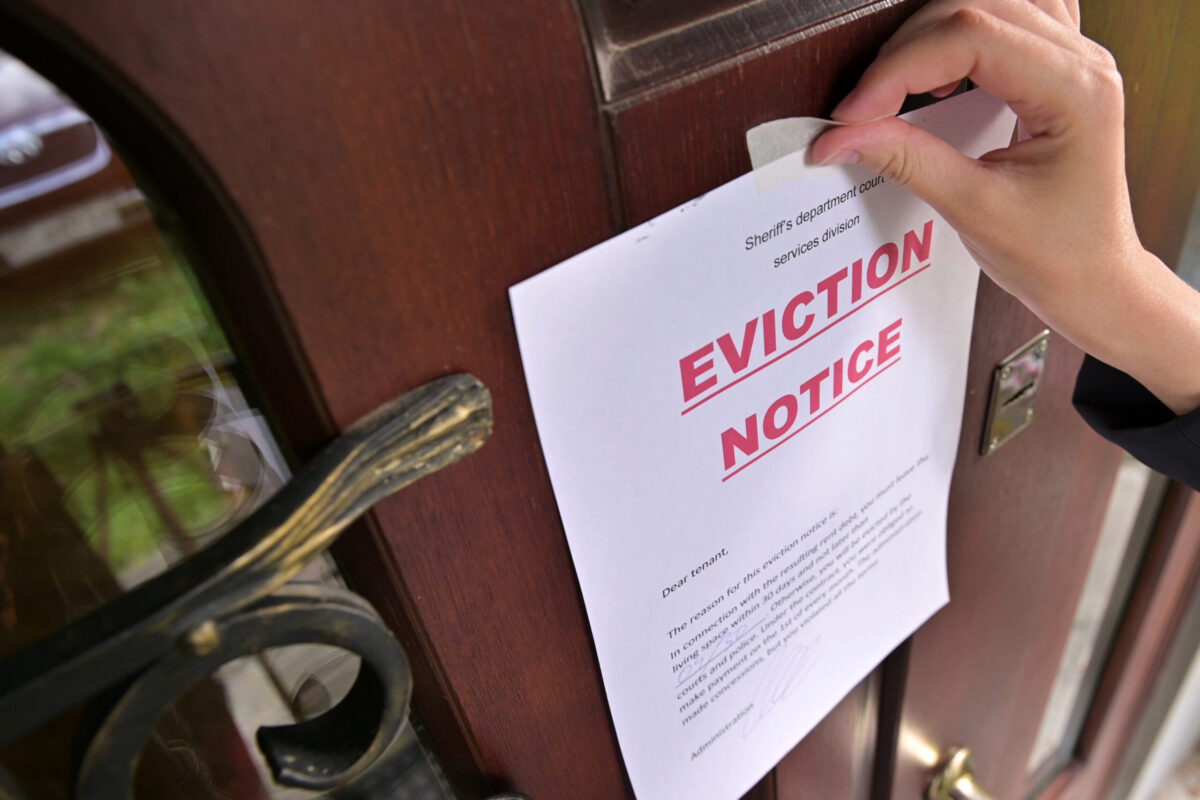
Dealing with evictions is one of the more challenging aspects of property management. When a tenant vacates a property—whether voluntarily or through legal proceedings—they often leave behind a considerable mess. Eviction cleanouts require not just physical labor but also a sound understanding of legal and operational procedures. Here are ten vital tips to help property managers master eviction cleanouts effectively.

STEP 1: Understand Local Laws and Regulations
Before initiating any eviction process or cleanout, familiarize yourself with local landlord-tenant laws. Different jurisdictions have different rules regarding eviction procedures, tenant rights, and the handling of abandoned property. Ignorance of the law can lead to costly legal battles, so make sure to:
- Research local statutes.
- Consult with a legal expert specializing in real estate.
- Document all steps taken during the eviction process.
Understanding these regulations will help you navigate the eviction cleanout legally and ethically.
+3.6 Million
The number of evictions in the U.S. annually varies however, estimates suggest that around 3.6 million eviction cases are filed each year in the United States.
2 to 6 weeks
It typically takes landlords 2 to 6 weeks to prepare a property for new tenants after an eviction. Hiring professional cleanout services can significantly reduce this turnaround time, helping property managers minimize vacancies and lost rental income.
$500 - $2900
On average, landlords spend between $500 and $2,900 on cleanout, repairs, and basic property maintenance after an eviction. This cost can vary depending on the extent of damage, the size of the property, and the amount of trash or items left behind.
+30%
Over 30% of eviction cases result in tenants abandoning personal belongings or leaving significant amounts of trash and debris behind. This makes cleanout services a vital part of turning over properties quickly for new tenants.

STEP 2. Conduct a Thorough Inspection
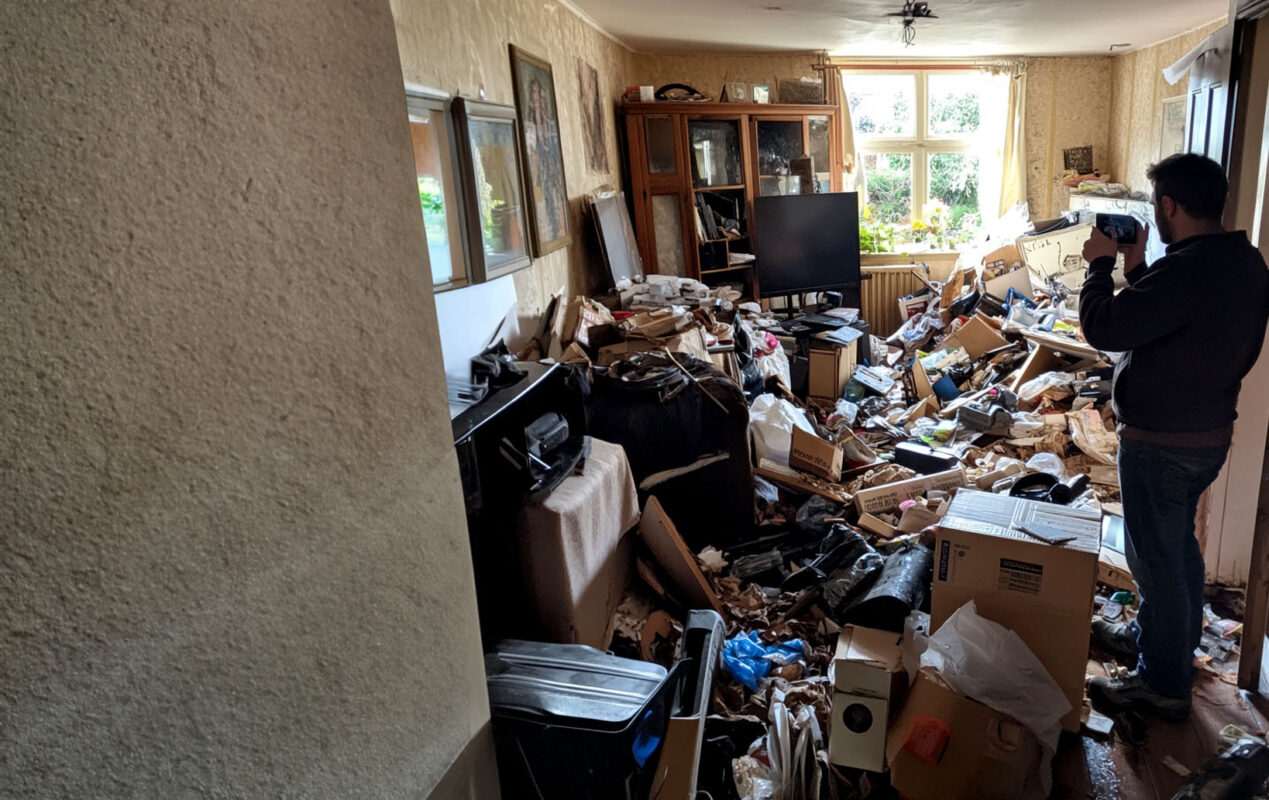
Once you gain access to the property, conduct a comprehensive inspection. This initial walkthrough is crucial for assessing the condition of the unit and the extent of the cleanup required. During the inspection:
- Take Detailed Notes: Document any damage, filth, or health hazards.
- Photograph the Condition: Capture images of the state of the property for records and potential legal proceedings.
Inventory Left Items: Make a list of all items left behind. This will help you in sorting later and in any discussions with former tenants.

STEP 3. Create a Plan of Action
With the information gathered from your inspection, create a structured plan for the cleanout. This plan should include:
- Timeline: Establish when the cleanout will occur and how long it should take.
- Resource Allocation: Determine what tools, personnel, and services you will need.
- Prioritization: Identify high-priority areas of the property that require immediate attention.
Having a clear plan will help keep the cleanout organized and efficient.
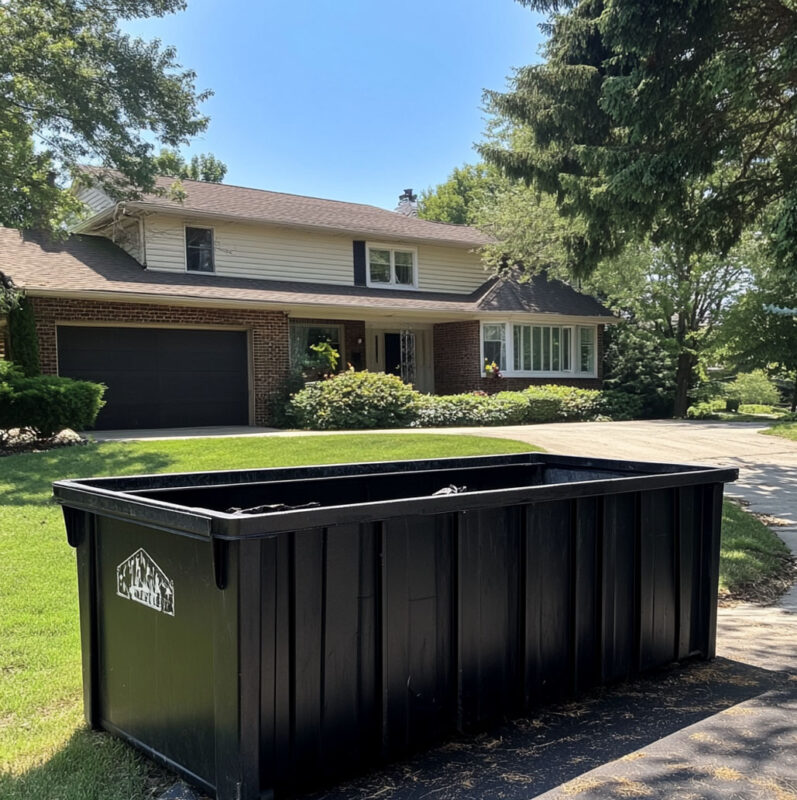
STEP 4. Secure Proper Disposal Methods
During the cleanout, you'll likely encounter a variety of items that need to be disposed of properly. Ensure you have a disposal strategy in place:
- Research Local Waste Disposal Guidelines: Different areas have regulations regarding hazardous waste, electronics, and bulk items.
- Partner with Junk Removal Services: Establish relationships with reliable junk removal companies that can handle large volumes of items quickly.
- Consider Recycling Options: Identify items that can be recycled, such as appliances or electronics, to minimize landfill waste.
Proper disposal not only protects the environment but also keeps you compliant with local regulations.

STEP 5. Communicate with Former Tenants
If it’s safe and feasible, reach out to former tenants to discuss their belongings. They may wish to reclaim certain items. This can help you:
- Reduce Cleanup Work: Tenants may want to pick up items themselves, lightening your load.
- Minimize Legal Disputes: Open communication can prevent misunderstandings and potential claims against you.
However, ensure that all communications are documented for legal purposes.
STEP 6. Organize And Sort Items
As you begin the cleanout, sorting items into categories can make the process much smoother:
- Keep: Items in good condition that can be reused or rented out.
- Donate: Usable furniture or clothing that can be donated to local charities.
- Dispose: Damaged or unsalvageable items that need to be thrown away.
Organizing items will not only streamline the cleanout process but also enable you to manage the property more effectively after the cleanout.

STEP 7. Hire Professional Help
If the cleanout involves a large amount of debris, hazardous materials, or specialized tasks, consider hiring professional eviction cleanout services. Professionals can help:
- Speed Up the Process: With a team of trained workers, the cleanout can be completed more quickly.
- Ensure Safety: Professionals are equipped to handle hazardous materials and heavy lifting safely.
- Provide Legal Protection: Many professional services are familiar with the legal aspects of eviction cleanouts, reducing the risk of non-compliance.
This can be especially valuable if you are managing multiple properties.

STEP 8. Prioritize Saftey
Safety should always be your top priority during an eviction cleanout. Hazards may include sharp objects, mold, or biohazardous waste. To ensure safety:
- Wear Protective Gear: Equip yourself and your team with gloves, masks, and safety goggles.
- Identify and Manage Hazards: Be aware of any potential dangers, such as mold or sharp objects, and take appropriate precautions.
- Have Emergency Contacts Ready: Ensure you have contact information for local emergency services and a plan in place in case of accidents.
Taking safety seriously protects your team and minimizes liability.
STEP 9. Document Everything
Maintaining detailed records during the cleanout is essential for legal protection and future reference. Document:
- Communications with Tenants: Keep a log of any conversations or messages exchanged.
- Inventory of Items: Maintain a detailed list of items removed and their condition.
- Photographic Evidence: Keep before-and-after photos to document the property's condition.
This documentation can be invaluable in case of disputes or for future property management efforts.

STEP 10. Clean and Prepare for New Tenants
Once the cleanout is complete, take the time to thoroughly clean and prepare the property for new tenants. A clean, welcoming space not only attracts high-quality tenants but also sets a positive tone for their experience. Steps to take include:
- Deep Cleaning: Hire a professional cleaning service to sanitize the property.
- Conduct Repairs: Address any damages that were discovered during the inspection.
- Stage the Property: If possible, stage the property with attractive furnishings to make it more appealing.
By presenting a well-maintained property, you increase the chances of a quick turnaround and reduced vacancy rates.
Conclusion
Mastering eviction cleanouts is a crucial skill for property managers. By following these ten vital tips, you can navigate the complexities of eviction cleanouts with confidence and professionalism. From understanding local laws to ensuring safety and proper documentation, each step is essential in providing a seamless transition for both yourself and future tenants. With careful planning and execution, eviction cleanouts can become a manageable aspect of your property management responsibilities.
Make new connections
Junk Removal & Move-In/Out Cleaning Services
At Clomax, we believe that building strong relationships with our clients is just as important as delivering top-notch junk removal services. By understanding your unique needs, we strive to provide personalized solutions that not only clear out unwanted items but also make room for new possibilities. Whether it's a one-time service or ongoing cleanouts, we’re here to create connections that matter, ensuring each project is completed with care, efficiency, and a focus on sustainability. Let’s make new connections today and transform your space together.


See the dramatic change as this living room is cleared of all belongings during an estate cleanout. The before-and-after images highlight the complete transformation, turning a cluttered space into a blank slate, ready for new beginnings.


Observe the striking difference in this living room after a thorough estate cleanout. The before image shows a room filled with years of memories, while the after image reveals a fresh, empty space, cleared and prepared for its next chapter.


See the difference in this apartment living room after a sensitive estate cleanout. While some personal items remain, the space has been thoughtfully cleared and reorganized, making it more manageable and comfortable for the resident to continue living in..